VISIONMOUNT FLAT PANEL WALL MOUNT-VMAA18 - Support mural pour écran plat SANUS - Notice d'utilisation et mode d'emploi gratuit
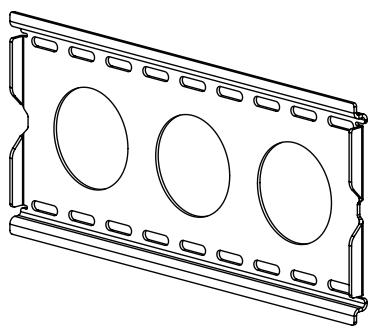
Retrouvez gratuitement la notice de l'appareil VISIONMOUNT FLAT PANEL WALL MOUNT-VMAA18 SANUS au format PDF.

| Type de produit | Support mural pour écran plat |
| Compatibilité des écrans | Écrans plats de 32 à 80 pouces |
| Poids maximum supporté | Environ 68 kg |
| Normes VESA | Compatible avec les normes VESA 200x200, 400x400, 600x400 |
| Dimensions du produit | Dimensions variables selon l'installation, généralement 60 x 40 x 5 cm |
| Matériaux | Acier robuste et finition en peinture époxy |
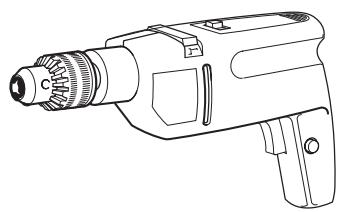
| Installation | Installation murale avec matériel inclus, nécessite un outil de perçage |
| Entretien et nettoyage | Essuyer avec un chiffon doux, éviter les produits chimiques abrasifs |
| Pièces détachées et réparabilité | Disponibilité de pièces de rechange sur demande |
| Sécurité | Installation recommandée par un professionnel pour garantir la sécurité |
| Garantie | Garantie limitée de 5 ans |
| Informations générales | Idéal pour un montage à plat contre le mur, design discret |
FOIRE AUX QUESTIONS - VISIONMOUNT FLAT PANEL WALL MOUNT-VMAA18 SANUS
Questions des utilisateurs sur VISIONMOUNT FLAT PANEL WALL MOUNT-VMAA18 SANUS
0 question sur cet appareil. Repondez a celles que vous connaissez ou posez la votre.
Poser une nouvelle question sur cet appareil
Téléchargez la notice de votre Support mural pour écran plat au format PDF gratuitement ! Retrouvez votre notice VISIONMOUNT FLAT PANEL WALL MOUNT-VMAA18 - SANUS et reprennez votre appareil électronique en main. Sur cette page sont publiés tous les documents nécessaires à l'utilisation de votre appareil VISIONMOUNT FLAT PANEL WALL MOUNT-VMAA18 de la marque SANUS.
MODE D'EMPLOI VISIONMOUNT FLAT PANEL WALL MOUNT-VMAA18 SANUS
VMAA18
(6901-100016 <04>)
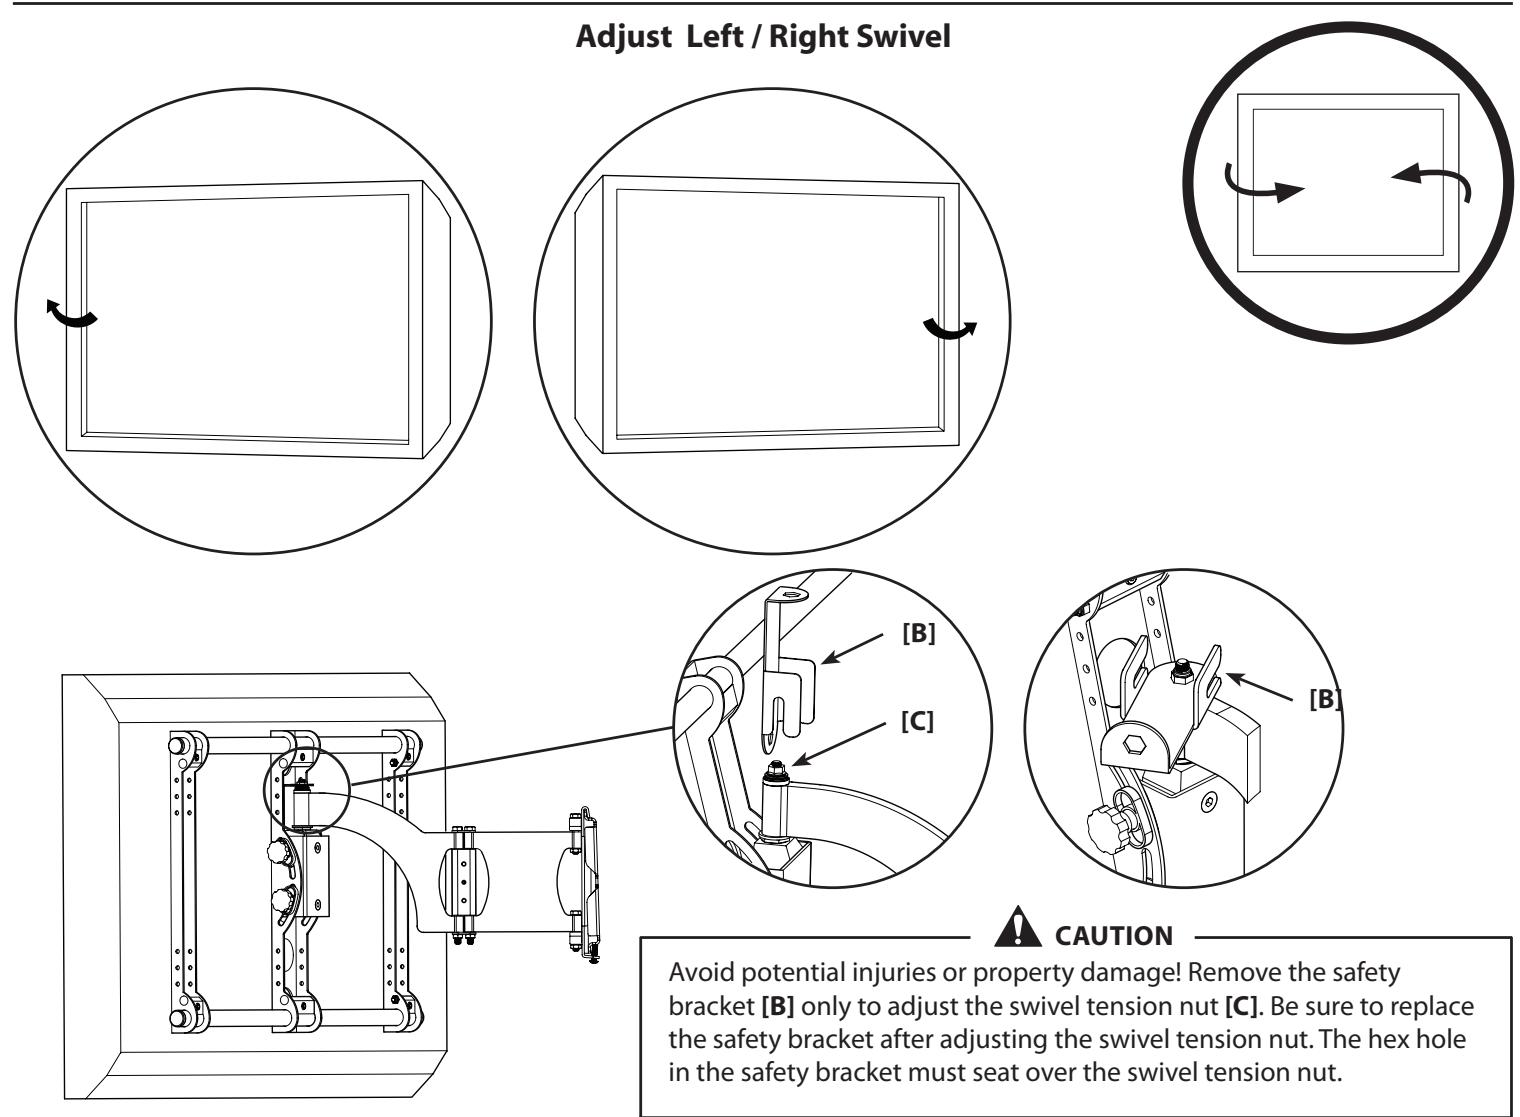
Thank you for choosing the Sanus VMAA18 wall mount. The Sanus VMAA18 wall mount is designed to support a monitor sized up to 50 in. (127cm) and weighing up to 59 kg (130 lbs). The mount is adjustable; it will tilt +5^ to -15^ , swivel to ± 90^ , and roll ± 6^ .

WARNING
This product contains small items that could be a choking hazard if swallowed. Keep these items away from young children!

CAUTION
This product is designed for use in wood stud walls only! The wall must be capable of supporting up to five times the weight of the monitor and mount combined. If you have any doubts about the ability of the wall to support the monitor, contact Sanus Customer Service, or a qualified contractor.

CAUTION
Do not use this product for any purpose not explicitly specified by Sanus Systems. Improper installation or use may cause personal injury and/or property damage. If you do not understand these instructions, or if you have doubts about the safety of the installation, contact Sanus Customer Service. Sanus is not liable for injury or damage caused by incorrect installation or use.
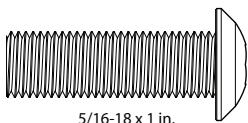
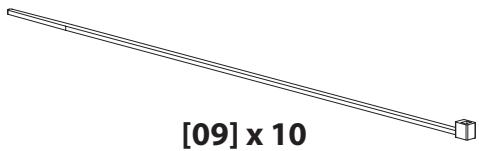
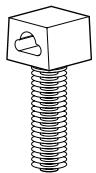
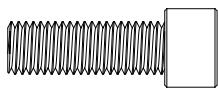
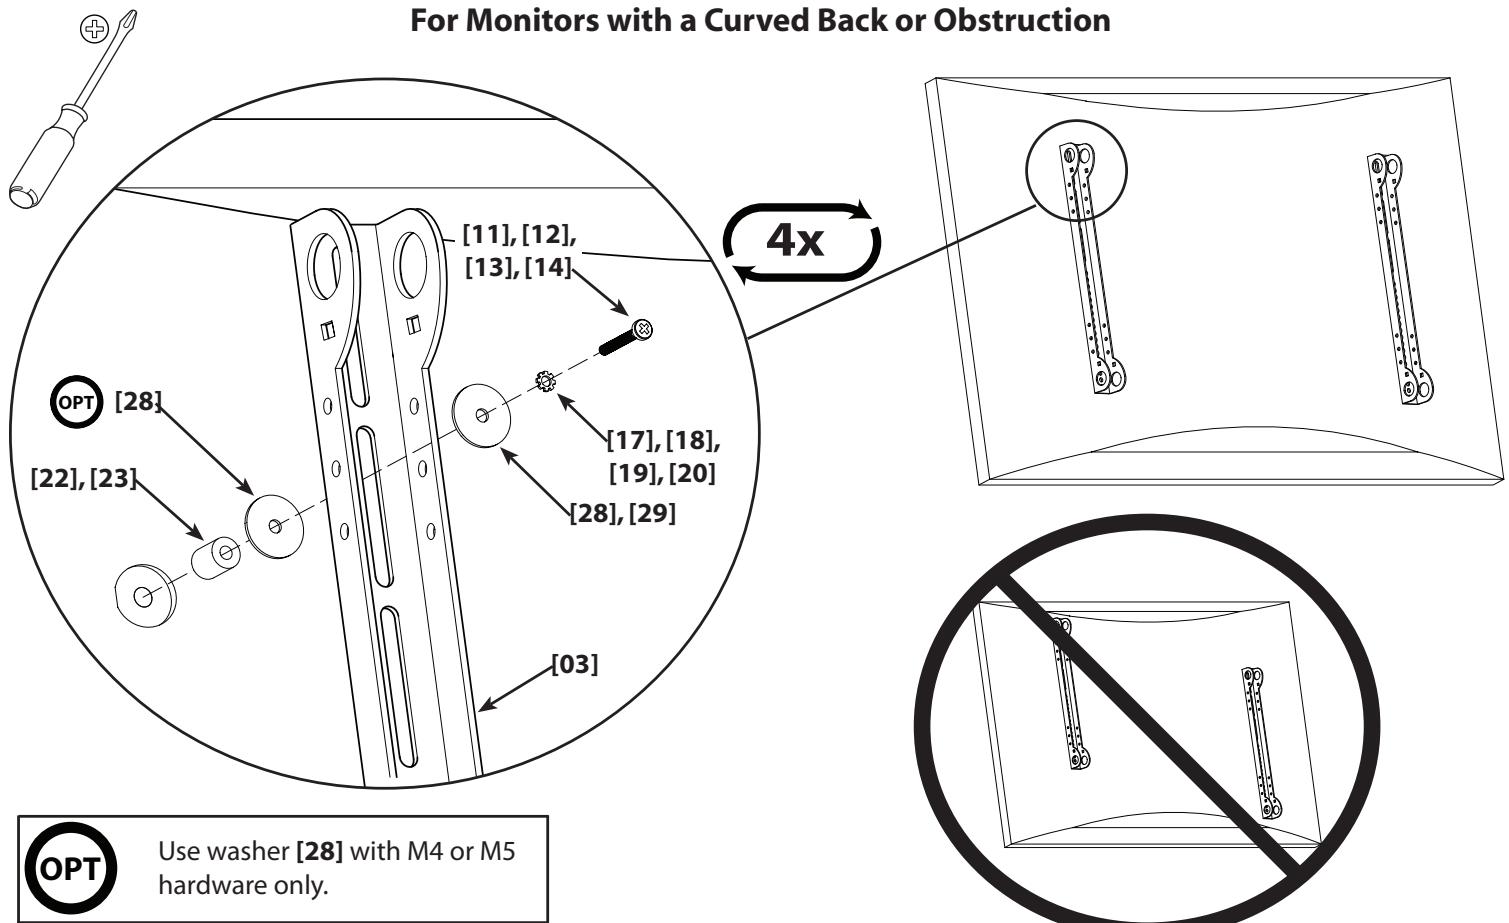
Supplied Parts and Hardware
Before starting assembly verify all parts are included and undamaged. If any parts are missing or damaged do not return the item to your dealer; contact Sanus Customer Service Never use damaged parts!
[01] x 1
[03] x 2
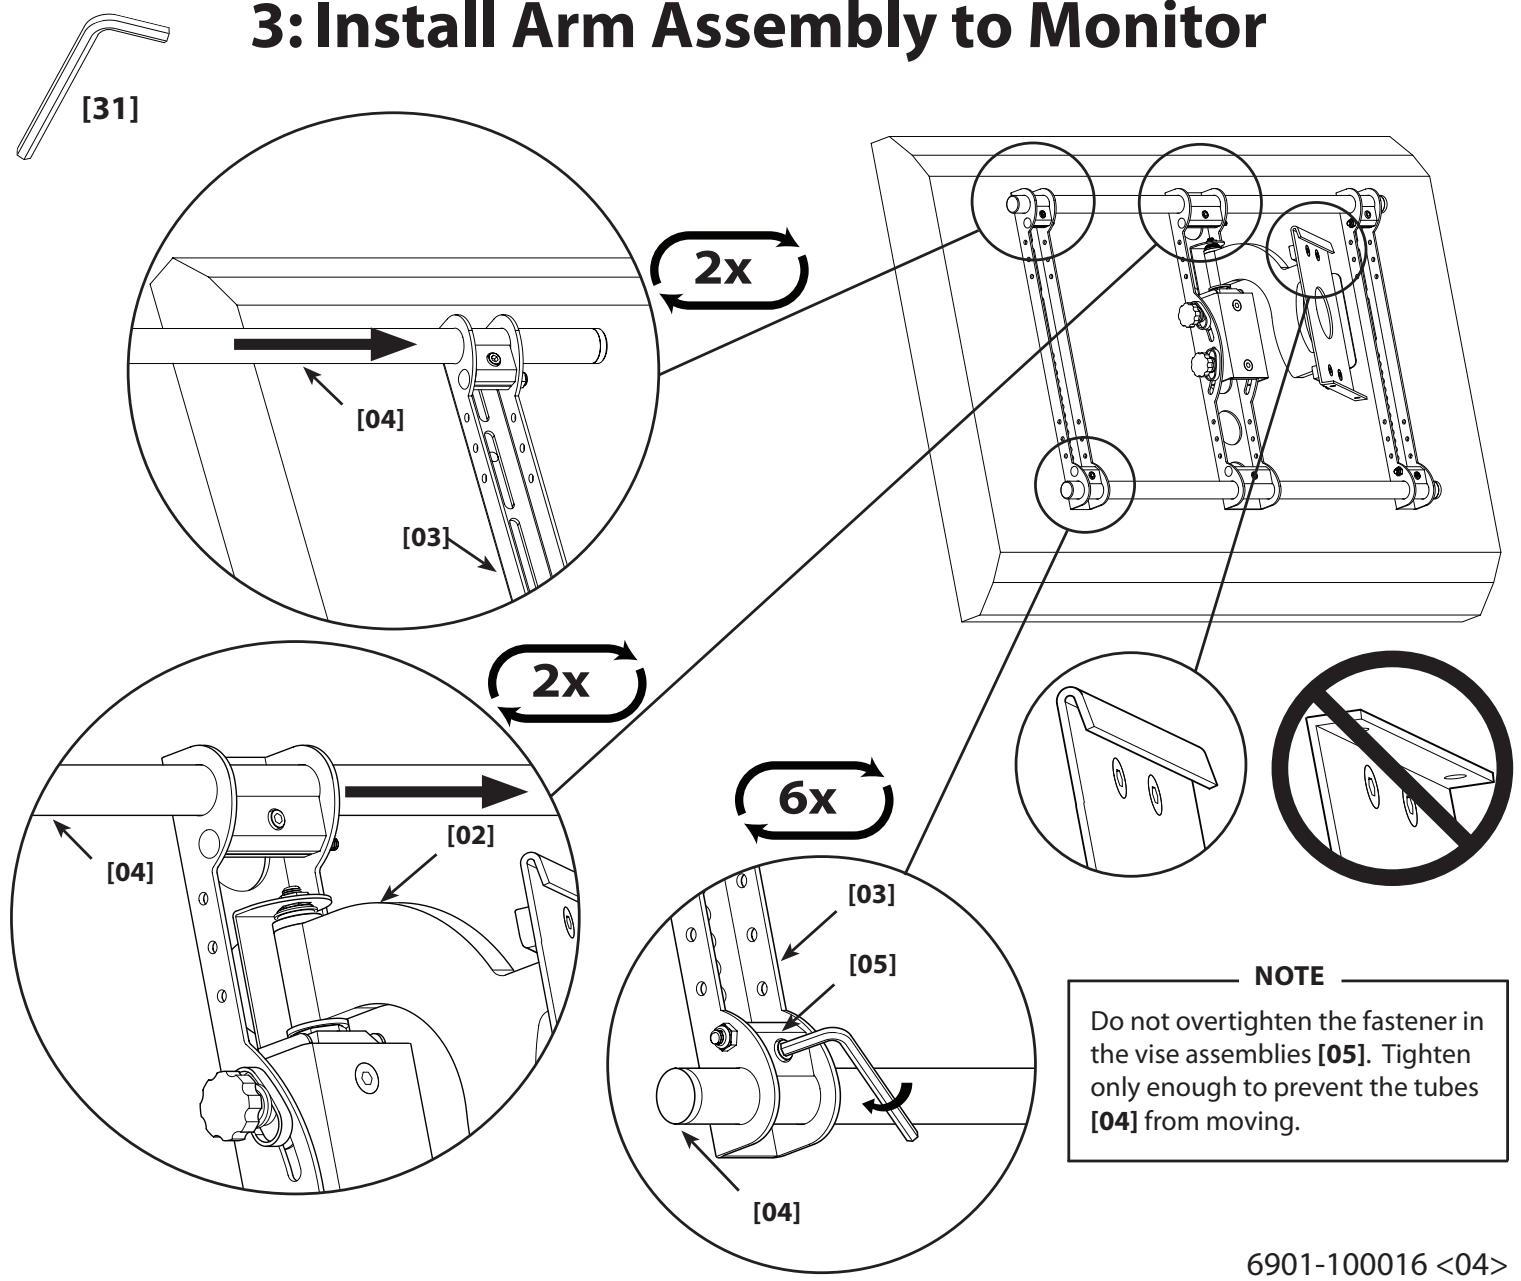
[05] x 4
[04] x 2
[10] x 1
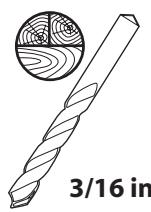
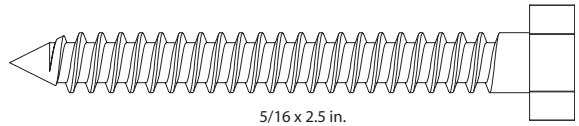
5/16 in.
[06] x 4

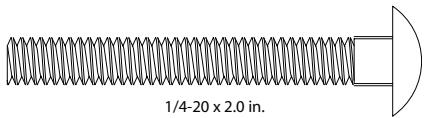
1/4-20
[07] x 4
[08] x 2
[16] x 2
[11] x 4
[12] x 4
[13] x 4
[14] x 4
[15] x 4
[23] x 4

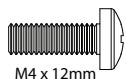
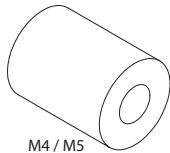
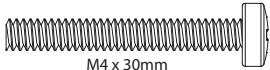
M4

[18] x 4
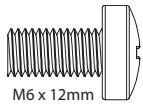
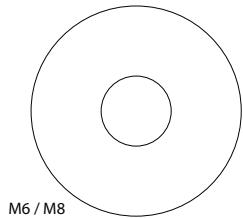
M6
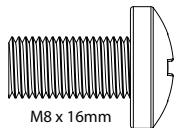
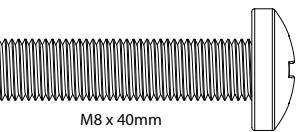
M8
[21] x 4
[22] x 4
[27] x 4
[24] x 4
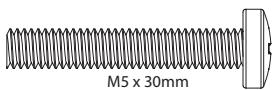
[25] x 4
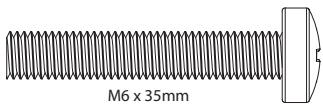
[26] x 4
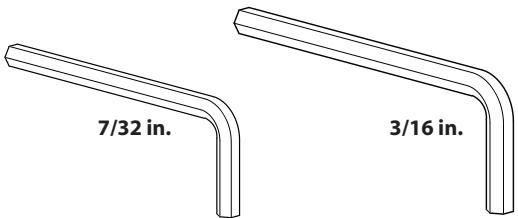
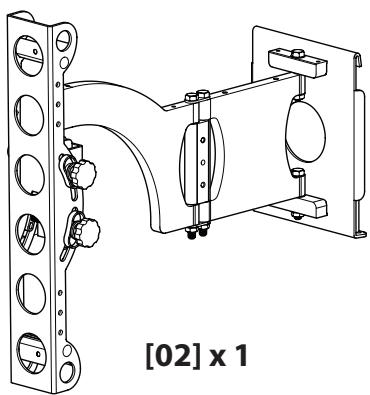
[31] x 1
[32] x 1
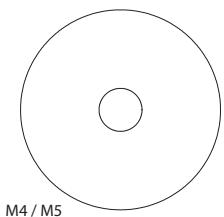
[28] x 8
[29] x 4
[30] x 4
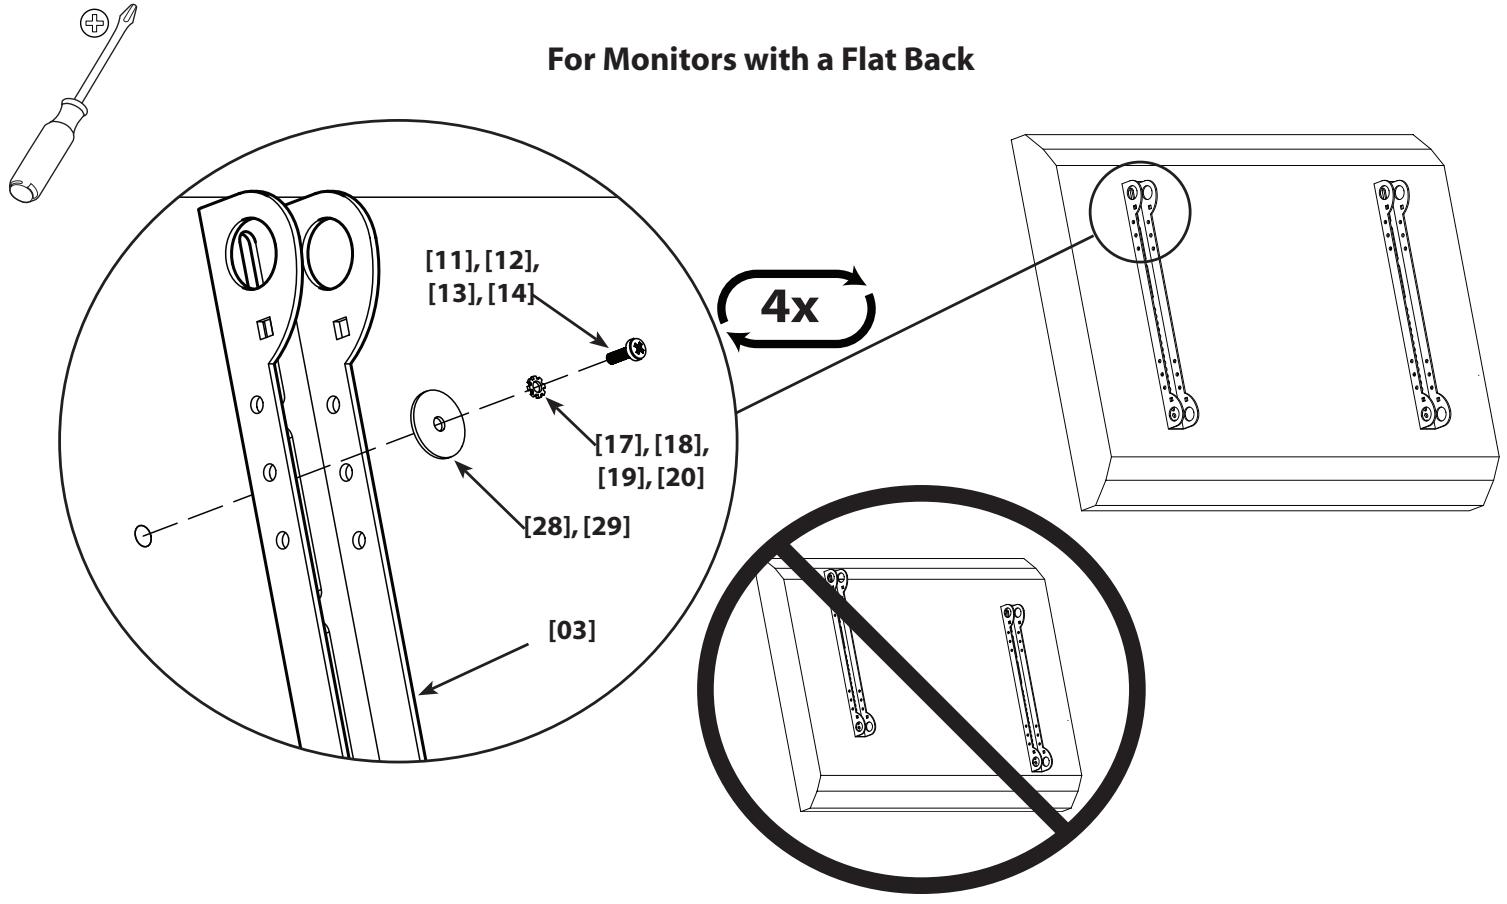
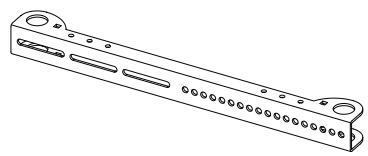
1: Attach Brackets to Monitor
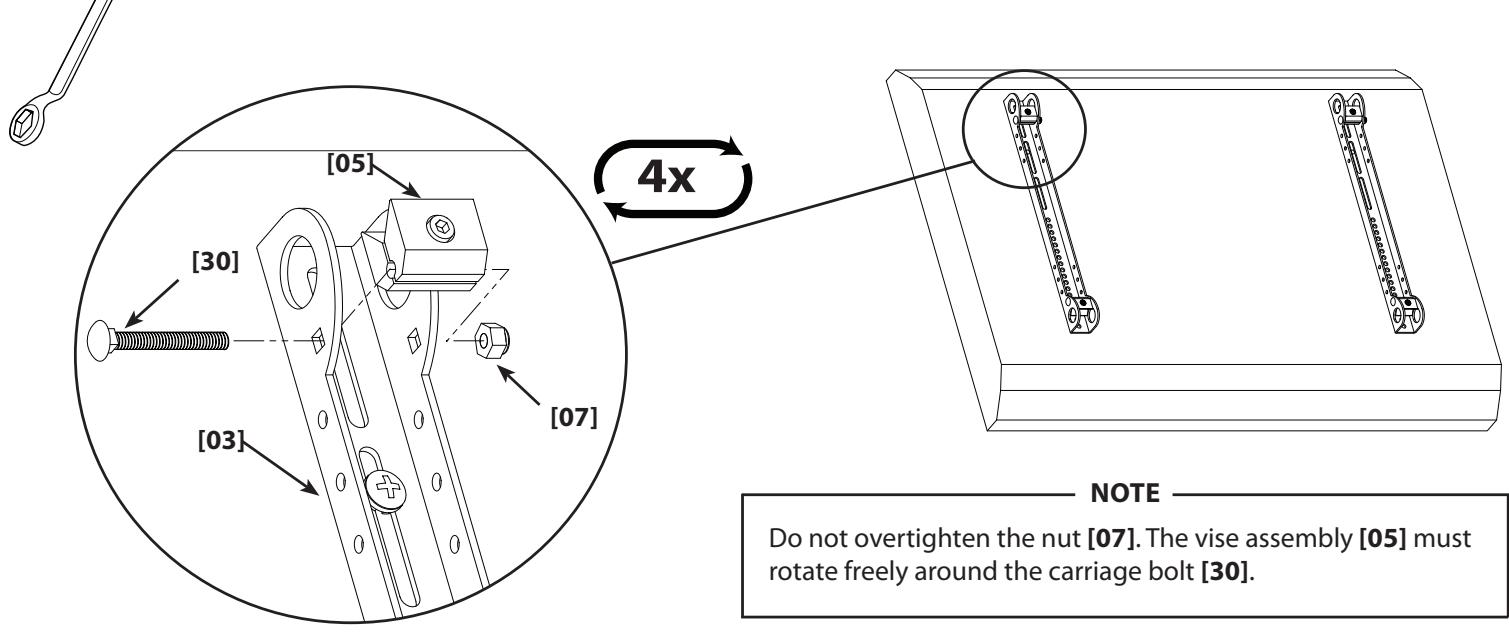
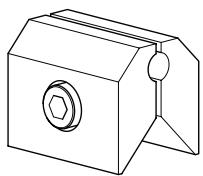
2: Install Vise Assemblies
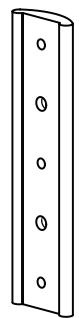
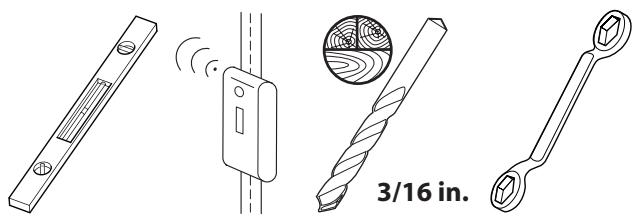
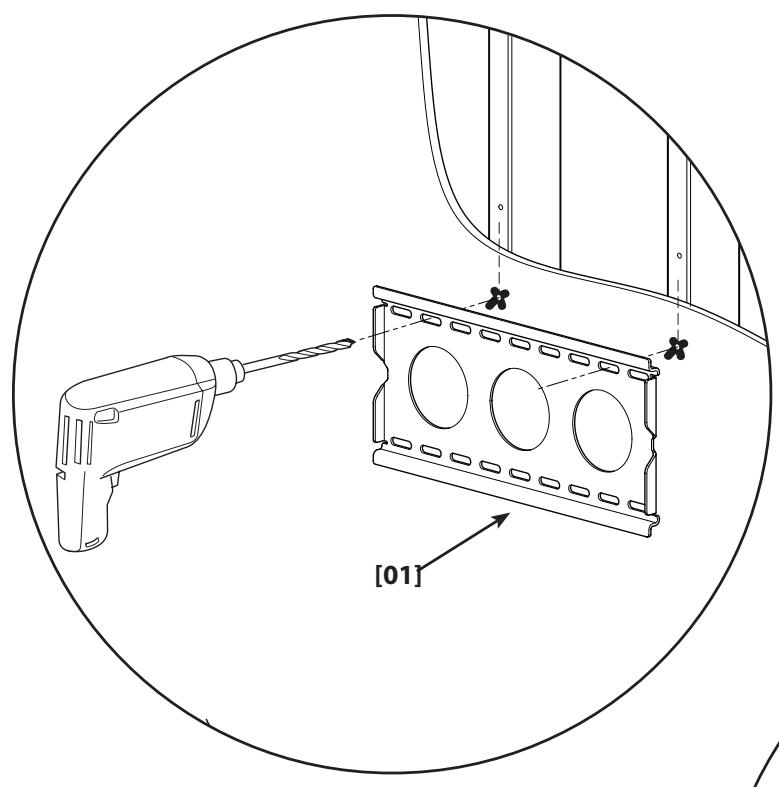
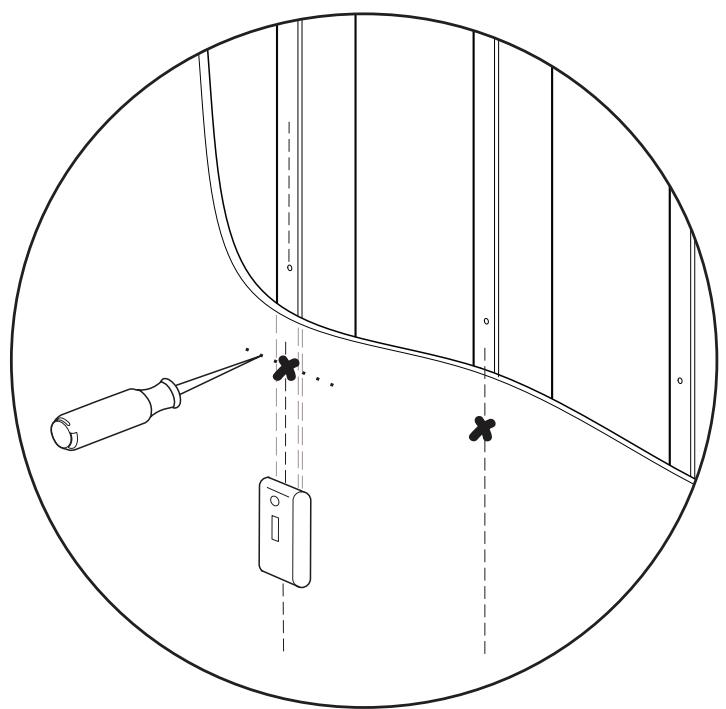
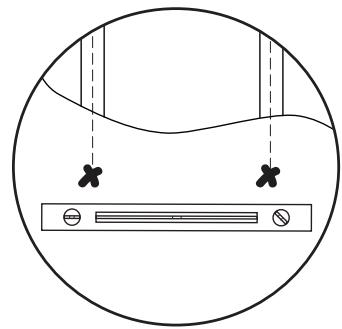
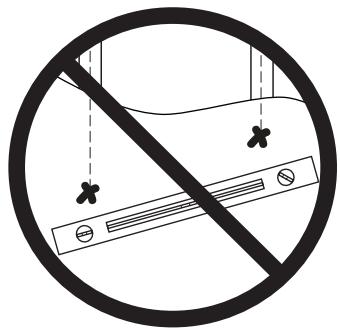
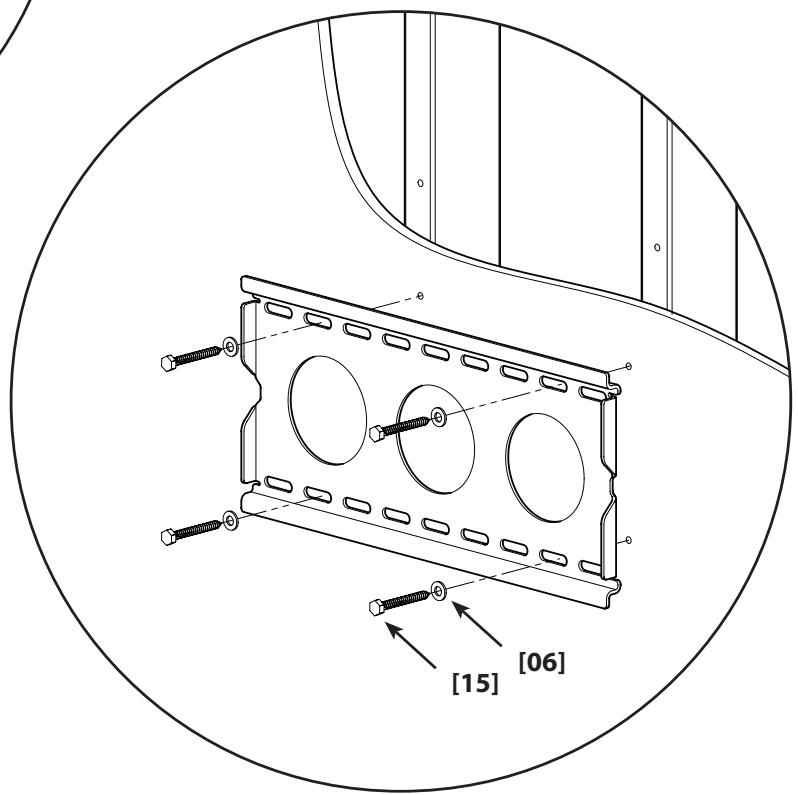
4: Install Wall Plate
NOTE
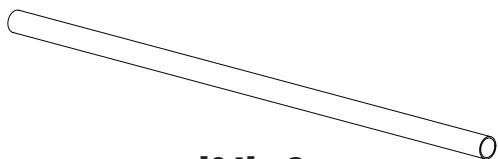
This product must only be used with wood studs spaced 30 - 40 cm (12 - 16 in.) on center.
NOTE
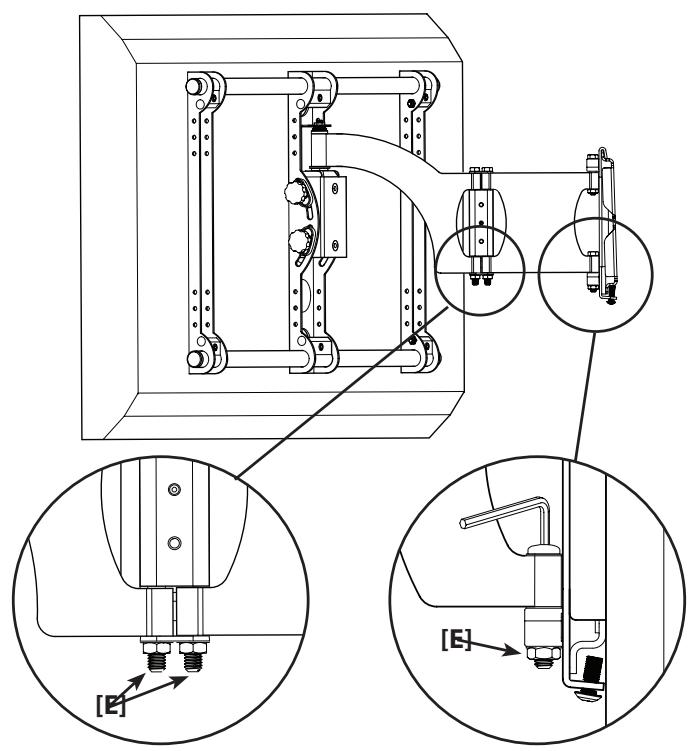
Do not overtighten the lag bolts [15]. Tighten only until the washer [06] is pulled firmly against the wall plate [01]. Periodic maintenance may be required.
5: Attach Arm to Wall Plate

HEAVY! You will need assistance with this step.
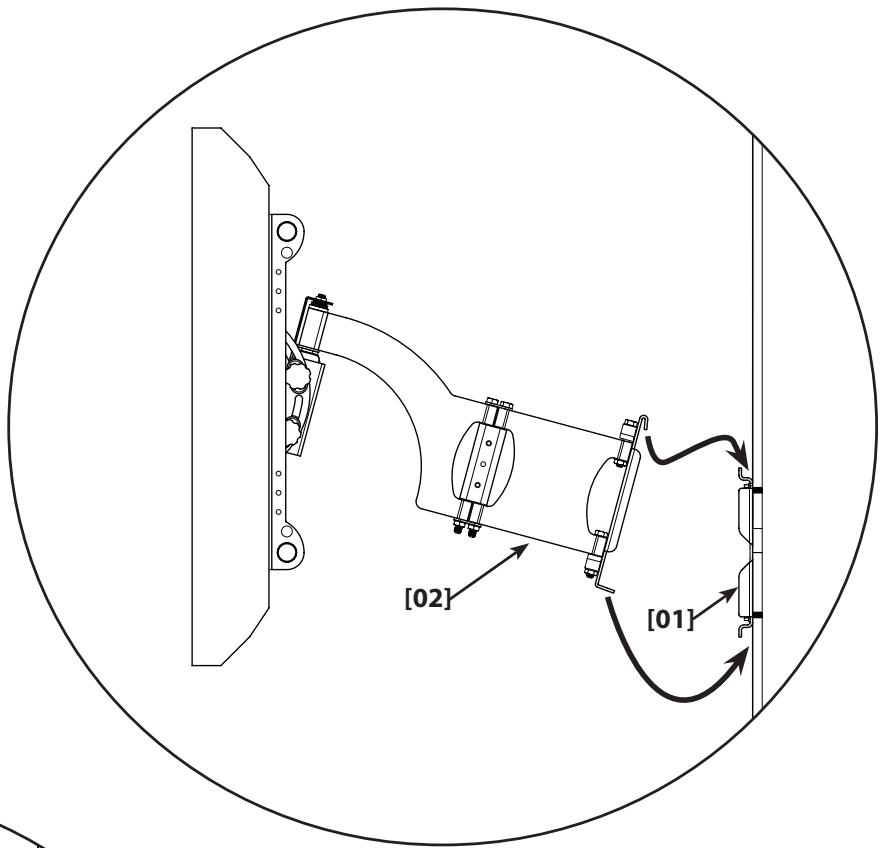
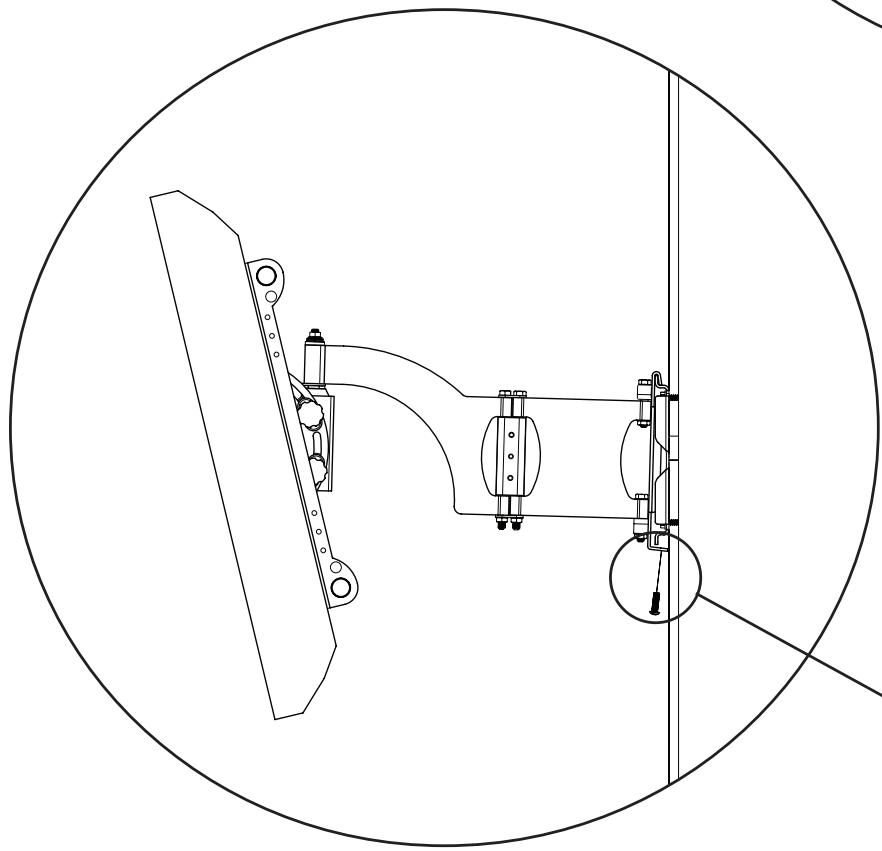

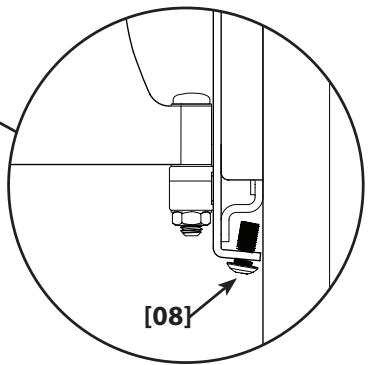
CAUTION
Avoid potential injuries or property damage! Ensure the safety bolts [08] are secure. Periodic maintenance may be required.
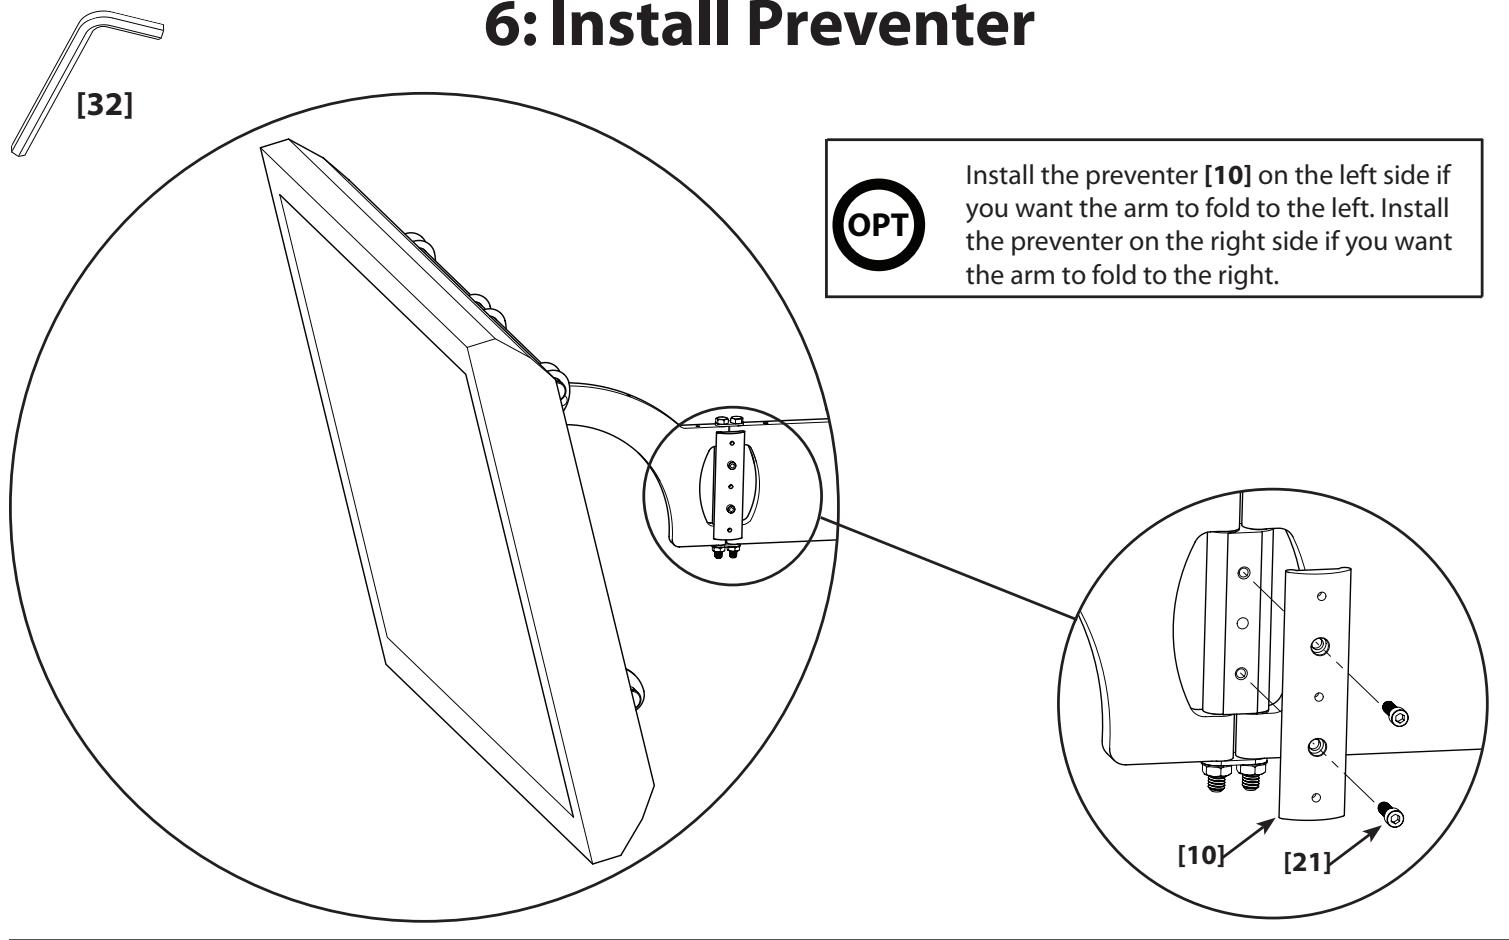
6: Install Preventer
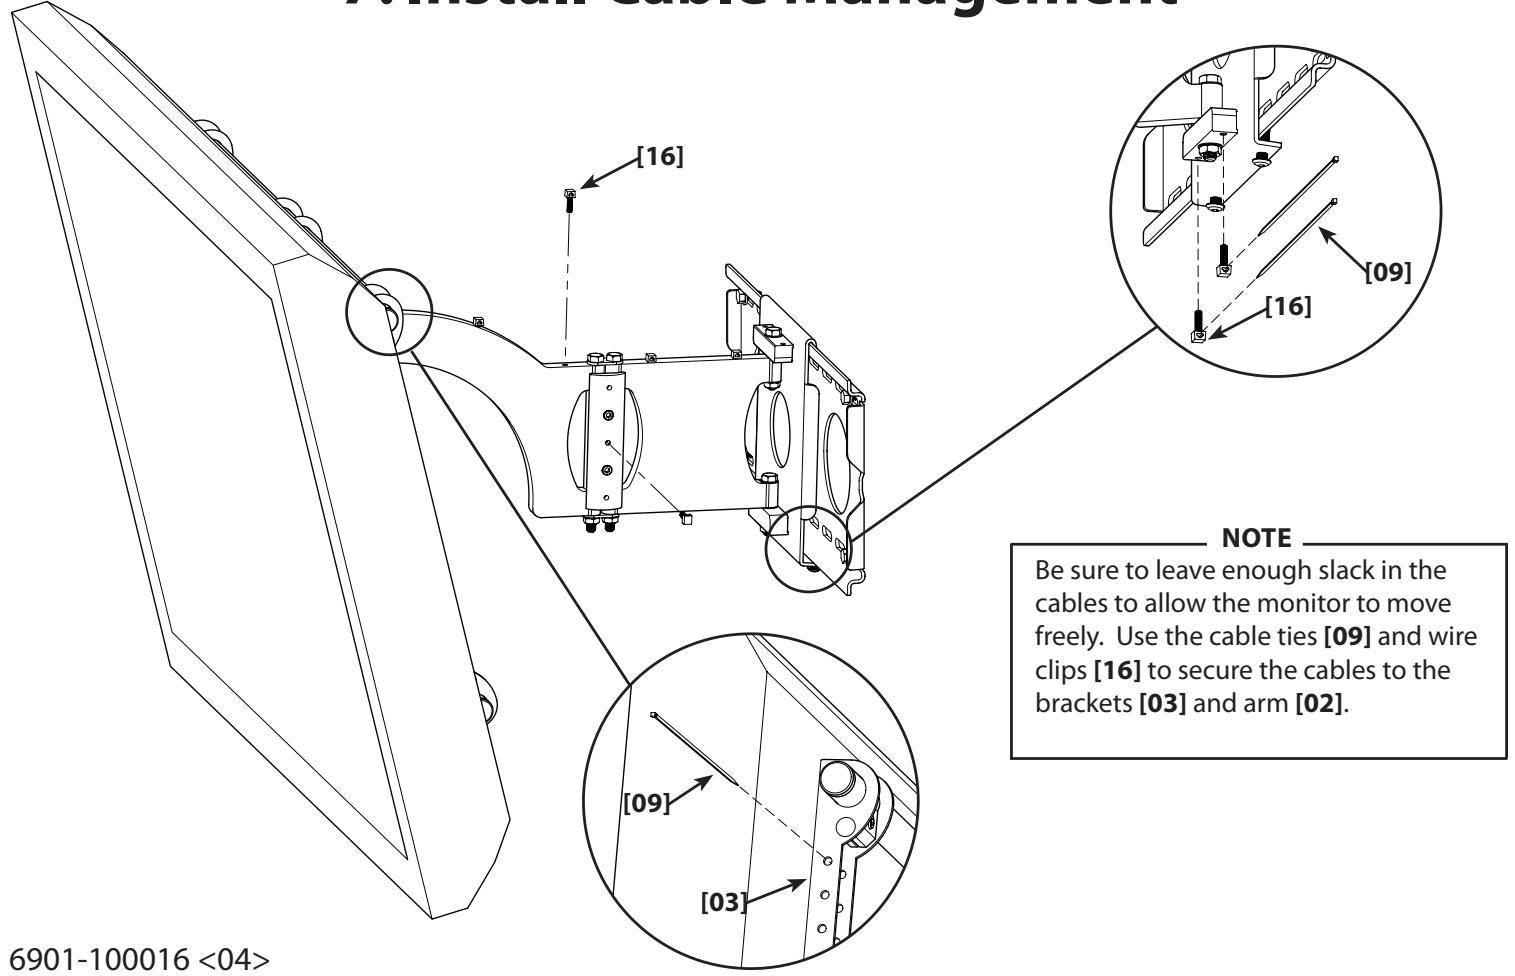
7:Install Cable Management
8: Adjust Monitor Position

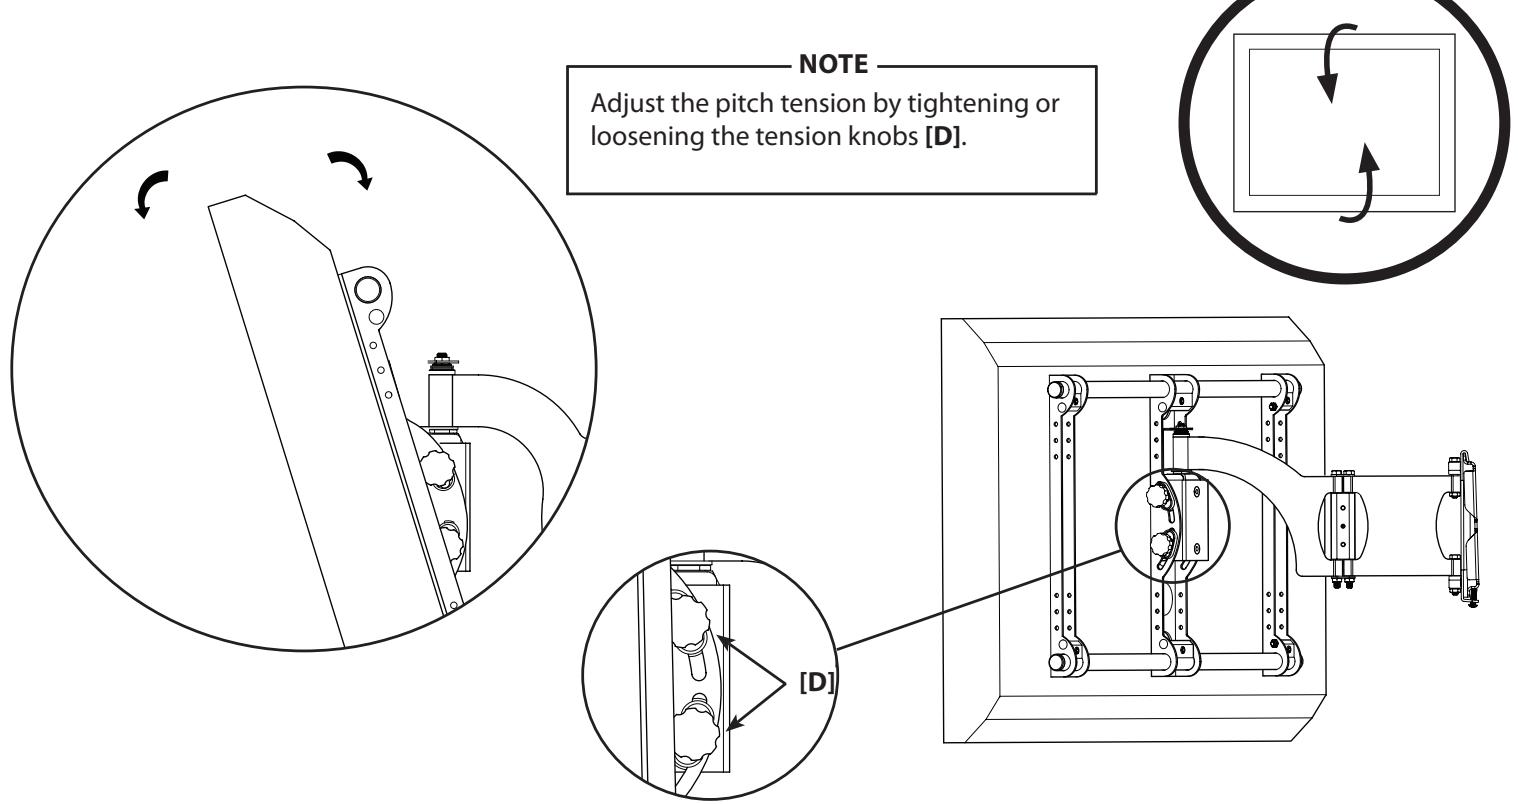
Adjust Up / Down Pitch

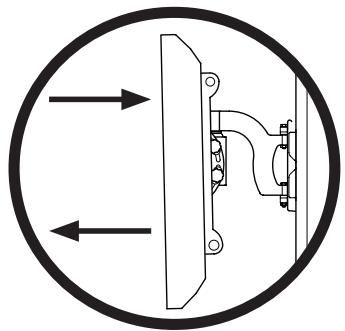
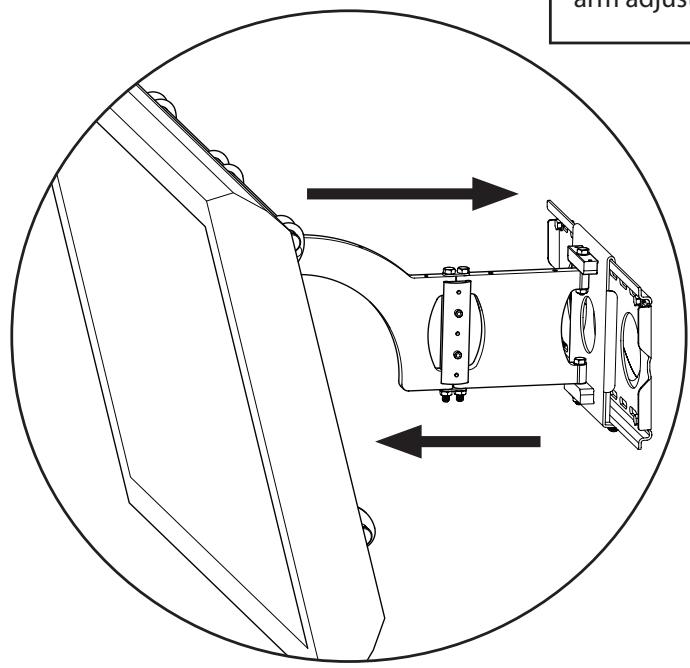
Extend or Retract Arm
CAUTION
Avoid potential injuries or property damage! Do not remove the adjustment nut [E]; tighten or loosen only as necessary for easy arm adjustment.